Thursday, August 23, 2012

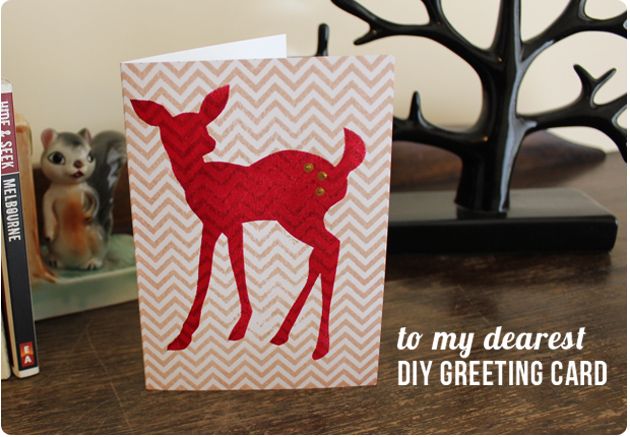
To my dearest... Diy Greeting Card

Photobucket

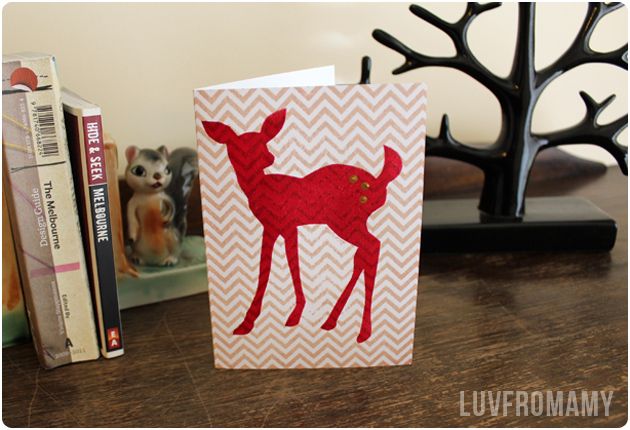
Last weekend the lovely Laura (from Learn 2 Screen-print) and I caught up for a quiet afternoon tea and craft session. Gaining inspiration from Laura's plentiful supplies we created this cute deer greeting card. Using just a few materials and easy print making techniques you can make your own handmade cards for friends and family!

Let's get started shall we...

Photobucket

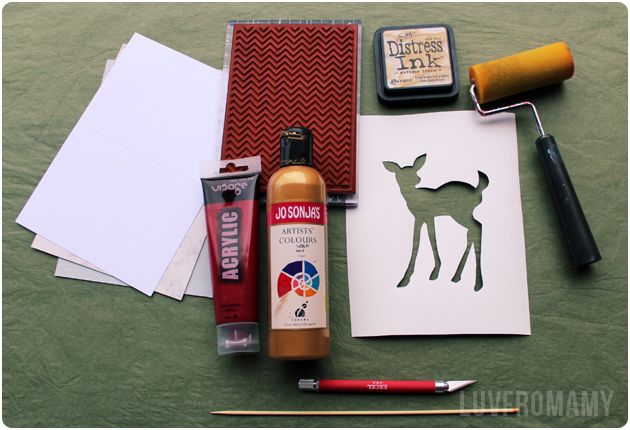
What you'll need:
♥ Card stock , A5 to be folded in half
♥ Patterned rubber stamp larger than your card face (you can buy these at your local craft store). We used the "Chevron" Darkroom Door background stamp
 Stamping ink - we used Tim Holtz "Antique Linen"
 Acrylic paint in a bold contrasting colour
♥ Metallic detail paint
♥ Craft knife/stanley knife
♥ Skewer
♥ Crafter roller
 Stencil cut from ezi cut stencil paper

Photobucket

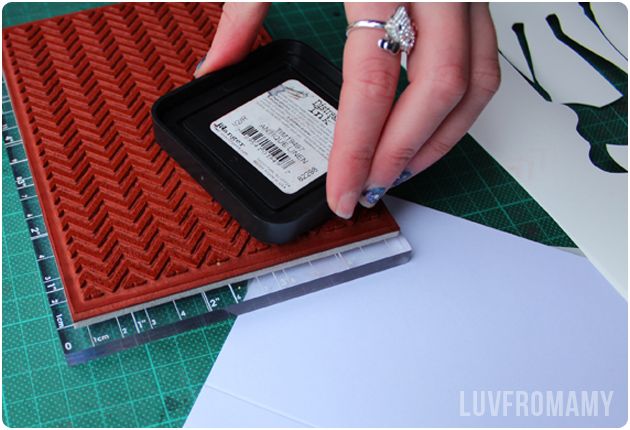
Step 1: Take your rubber stamp and cover with your stamping ink. Pat repetitively over your stamp making sure the whole surface is evenly coated.
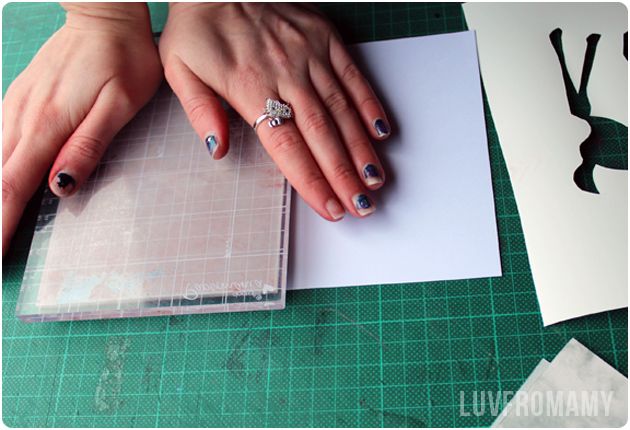
Photobucket


Step 2: With your inked stamp, line up the fold of the card with the edge of your stamp, then press it gently down onto the card. Apply pressure with your palms all over the back of the stamp. With a bit of force hold your palms down for at least 3 seconds in each spot, make sure you are not "rolling" or moving the stamp, as we don't want the print to be smudged.
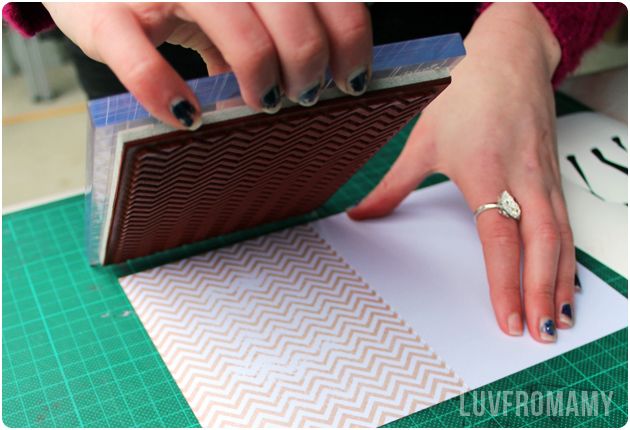
Photobucket

Step 3: Once you've pressed the bejeebers out of your stamp, lift it up to reveal the print! :-) Looks great doesn't it?

Photobucket

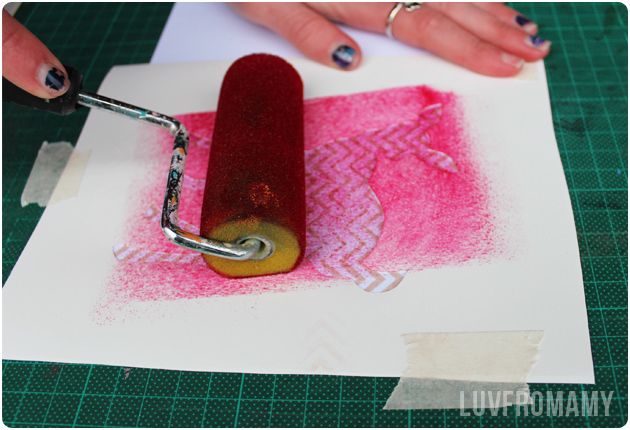
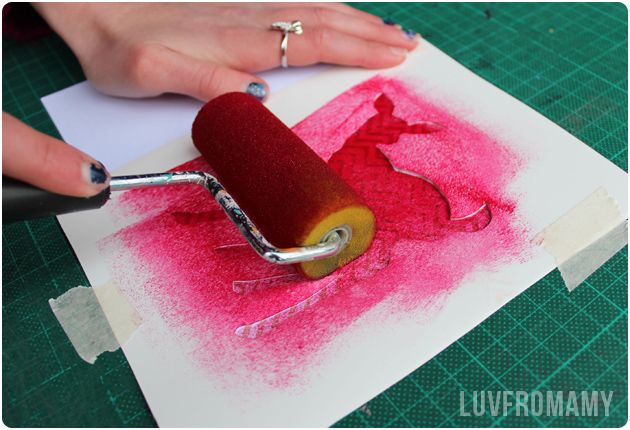
Step 4: Take your animal stencil that you carefully cut out with a craft knife (you can use various clip art or pre-designed silhouettes if you're not comfortable drawing your own animals) and place it in the center of your card front - don't worry if it's not exact! Keep it in place by taping the corners down with masking tape.
Photobucket

Photobucket

Step 5: Load your roller with the contrasting acrylic paint. Lightly start to roll over your stencil to apply the colour, continue to roll until you are happy with the coverage.

Photobucket

Step 6: Remove your stencil to reveal your animal silhouette! I love how the pattern slightly peeks through the deer - adds a little character I think ;-) We are almost there!

Photobucket

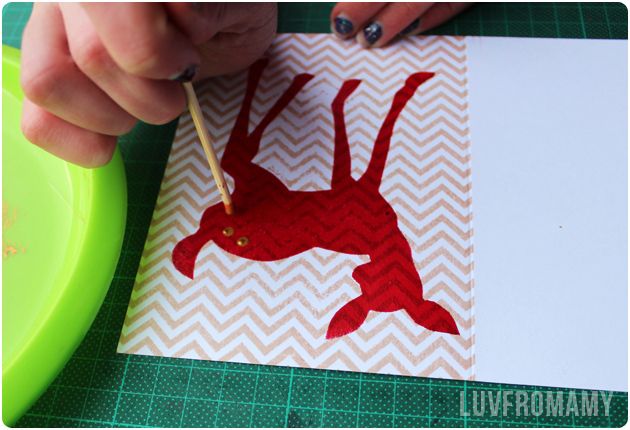
Step 7: Using a skewer and your metallic detail paint, spot three small dots on the rear of the deer (or anywhere that suits your animal of choice..) Let dry. Fold in half then sit back and admire your work! :-)

Photobucket

Ta-dah the end result! :-) Handmade cards are perfect for any occasion (special or "not") and add a personalised and heart-filled touch to your gifts.  

Laura and I had a great time preparing, creating and photographing this project for you today! Hope it not only is inspiring but also demonstrates how easy it can be to make your own DIY greeting cards!

If you'd like to learn more about Laura and her Learn 2 Screen-print classes check out her website, class descriptions or add her on facebook... Laura is super lovely and such a inspiration!

Photobucket

Note: Please, please excuse my horrible nails!! I often pick at my nail polish and I was not expecting to star in a photo DIY - haha how embarrassing!

Wednesday, August 15, 2012

Feeling a little...

Photobucket
image source - pinterest

Feeling a little under the weather this week, nothing worse than having a catch in your throat and coughing every few minutes. Not only is it annoying for myself but I can tell I'm currently not the most popular person at work haha :P (and rightly so!)

A few things that have made this week a-ok...

My lovely Mum dropping of a "care pack" of chicken noodle soup, cold + flu tablets and some vix
♥ Getting tucked in for the night by my cutie boyfriend hehe, was lovely to be looked after.. naww warm fuzzies
Learning a new crocheting technique woo!! (Have you checked out Ravelry - a knit and crochet community - you have to "sign up" to gain access [it's free] but it is a great resource for stitch mistress' out there...I've taken note of a few patterns I'd like to crochet in the future)
Watching the latest episode of True Blood...I can't believe Season 5 is almost over :: cries blood tears ::
Replacing 74.9% of my body water with tea.. nothing better than having a hot tea to warm you up. Currently on high rotation: normal black tea with no sugar, green tea and english breakfast.
Knowing the weekend is just around the corner teehee! 

Photobucket

Monday, August 13, 2012

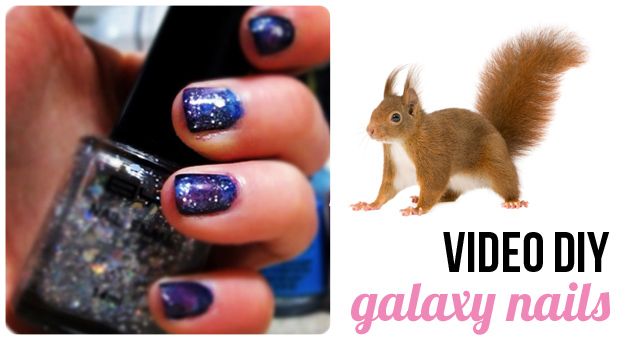
DIY Galaxy nails {video post}

Photobucket

This trend if everywhere at the moment...so why not have the galaxy at your fingertips ;-) 


This is my first video tutorial so it's a little blurry, a little awkward but I'm really excited to share this with you!  If you have any questions/feedback or future hints/tips please don't hesitate to leave your thoughts in the comment section :-) 

For those who would like written step-by-step instructions please see below :-)

What you'll need ♥:
♥ Selection of 'cosmic' colours:
I'm using Avon "Twilight Blue", China Glaze "Flying High", Zoya "Morgan" and Kit Cosmetic "Dive in"
♥ Craft or make-up sponge - I bought my sponge from my local Target (Pack of 32 for $5 GREAT PRICE!)
 Plastic lid or something similar to dot your lighter cosmic colours onto.

Step 1:
Paint your Galaxy background, I used my darkest shade, "Twilight blue"

Step 2:
Once your background colour is dry we can start applying the lighter cosmic colours - I started with the "Flyin' High" and gently dabbed the corner of my make up sponge in the nail polish.

Using the corner of the sponge, lightly dab against your nail to apply the nail polish. Do not cover the whole nail in this colour :-) Repeat on each nail, remember we don't want each nail to look the same so feel free to mix up the location. Keep dabbing until you are happy with the coverage. Don't worry if the nail polish is applying too thick, this will be fixed later on down the track by the constant dabbing.

Apply the remaining two colours in the same fashion as above ^ but use different corners of your make up sponge. I followed "Flying High" with "Morgan" and then used "Dive in" as the finishing colour - they look great together! 

Tip: Use the base of your make up sponge to thin out the polish - I found this to be very helpful. Let dry.

Step 3:
Add a little sparkle to your galaxy with glitter nail polishes! I used Chi Chi "Paparazzi Princess" and BYS "Silver moon" (how appropriate!) I love the mix of fine glitter from "Paparazzi Princess" and the large glitter chunks from "Silver Moon"

Ta-dah!! You now have galaxy nails :-)

Video info: I used a Canon PowerShot G12 to record and Adobe After Effects CS5 to compile (there's probably easier programs but I know how to use After Effects haha!) Music: Katy Perry E.T
Photobucket

Thursday, August 9, 2012

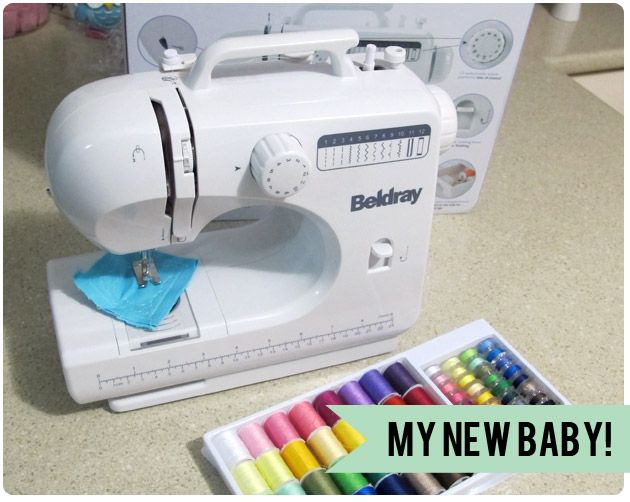
My new baby! Beldray 12 stitch sewing machine

Photobucket

Last week I purchased a Beldray 12 stitch sewing machine on Catch of the Day (for a steal of a price!) and to my surprise it arrived 2 days later on my doorstep. With easy to use functions and compact size (28cm in length) it's the perfect addition to my craft collection - I'll be able to start all the little craft projects I've been thinking up for months!

This stylish and contemporary Beldray 12 stitch sewing machine offers great value and is ideal for beginners with none or little sewing machine experience. The compact design and convenient carry handle makes it ideal for travel. In addition the Beldray comes complete with 32 assorted bobbins, nylon storage bag, bobbin drawer, built-in sewing light and thread cutter

Features:
12 built-in stitches for great variety
 Built in thread cutter
♥ Automatic bobbin winding
 Reverse function ideal for finishing
  Stitch pattern indicator for simplicity
  Built-in light for improved visibility
  64-piece thread set so you can sew from day one!
  Nylon carry bag
 Weight: 1.9kg
 Dimensions (cm): 26 x 10.5 x 28 (HxWxL)

With mixed reviews I'm hoping my experience with the Beldray 12 stitch will be positive as this little machine does everything I need in a sewing machine. I can't wait to start using it!

Do you have any beginner sewing patterns you think I should try? 

Photobucket